The Australian War Memorial’s New World War 1 Gallery

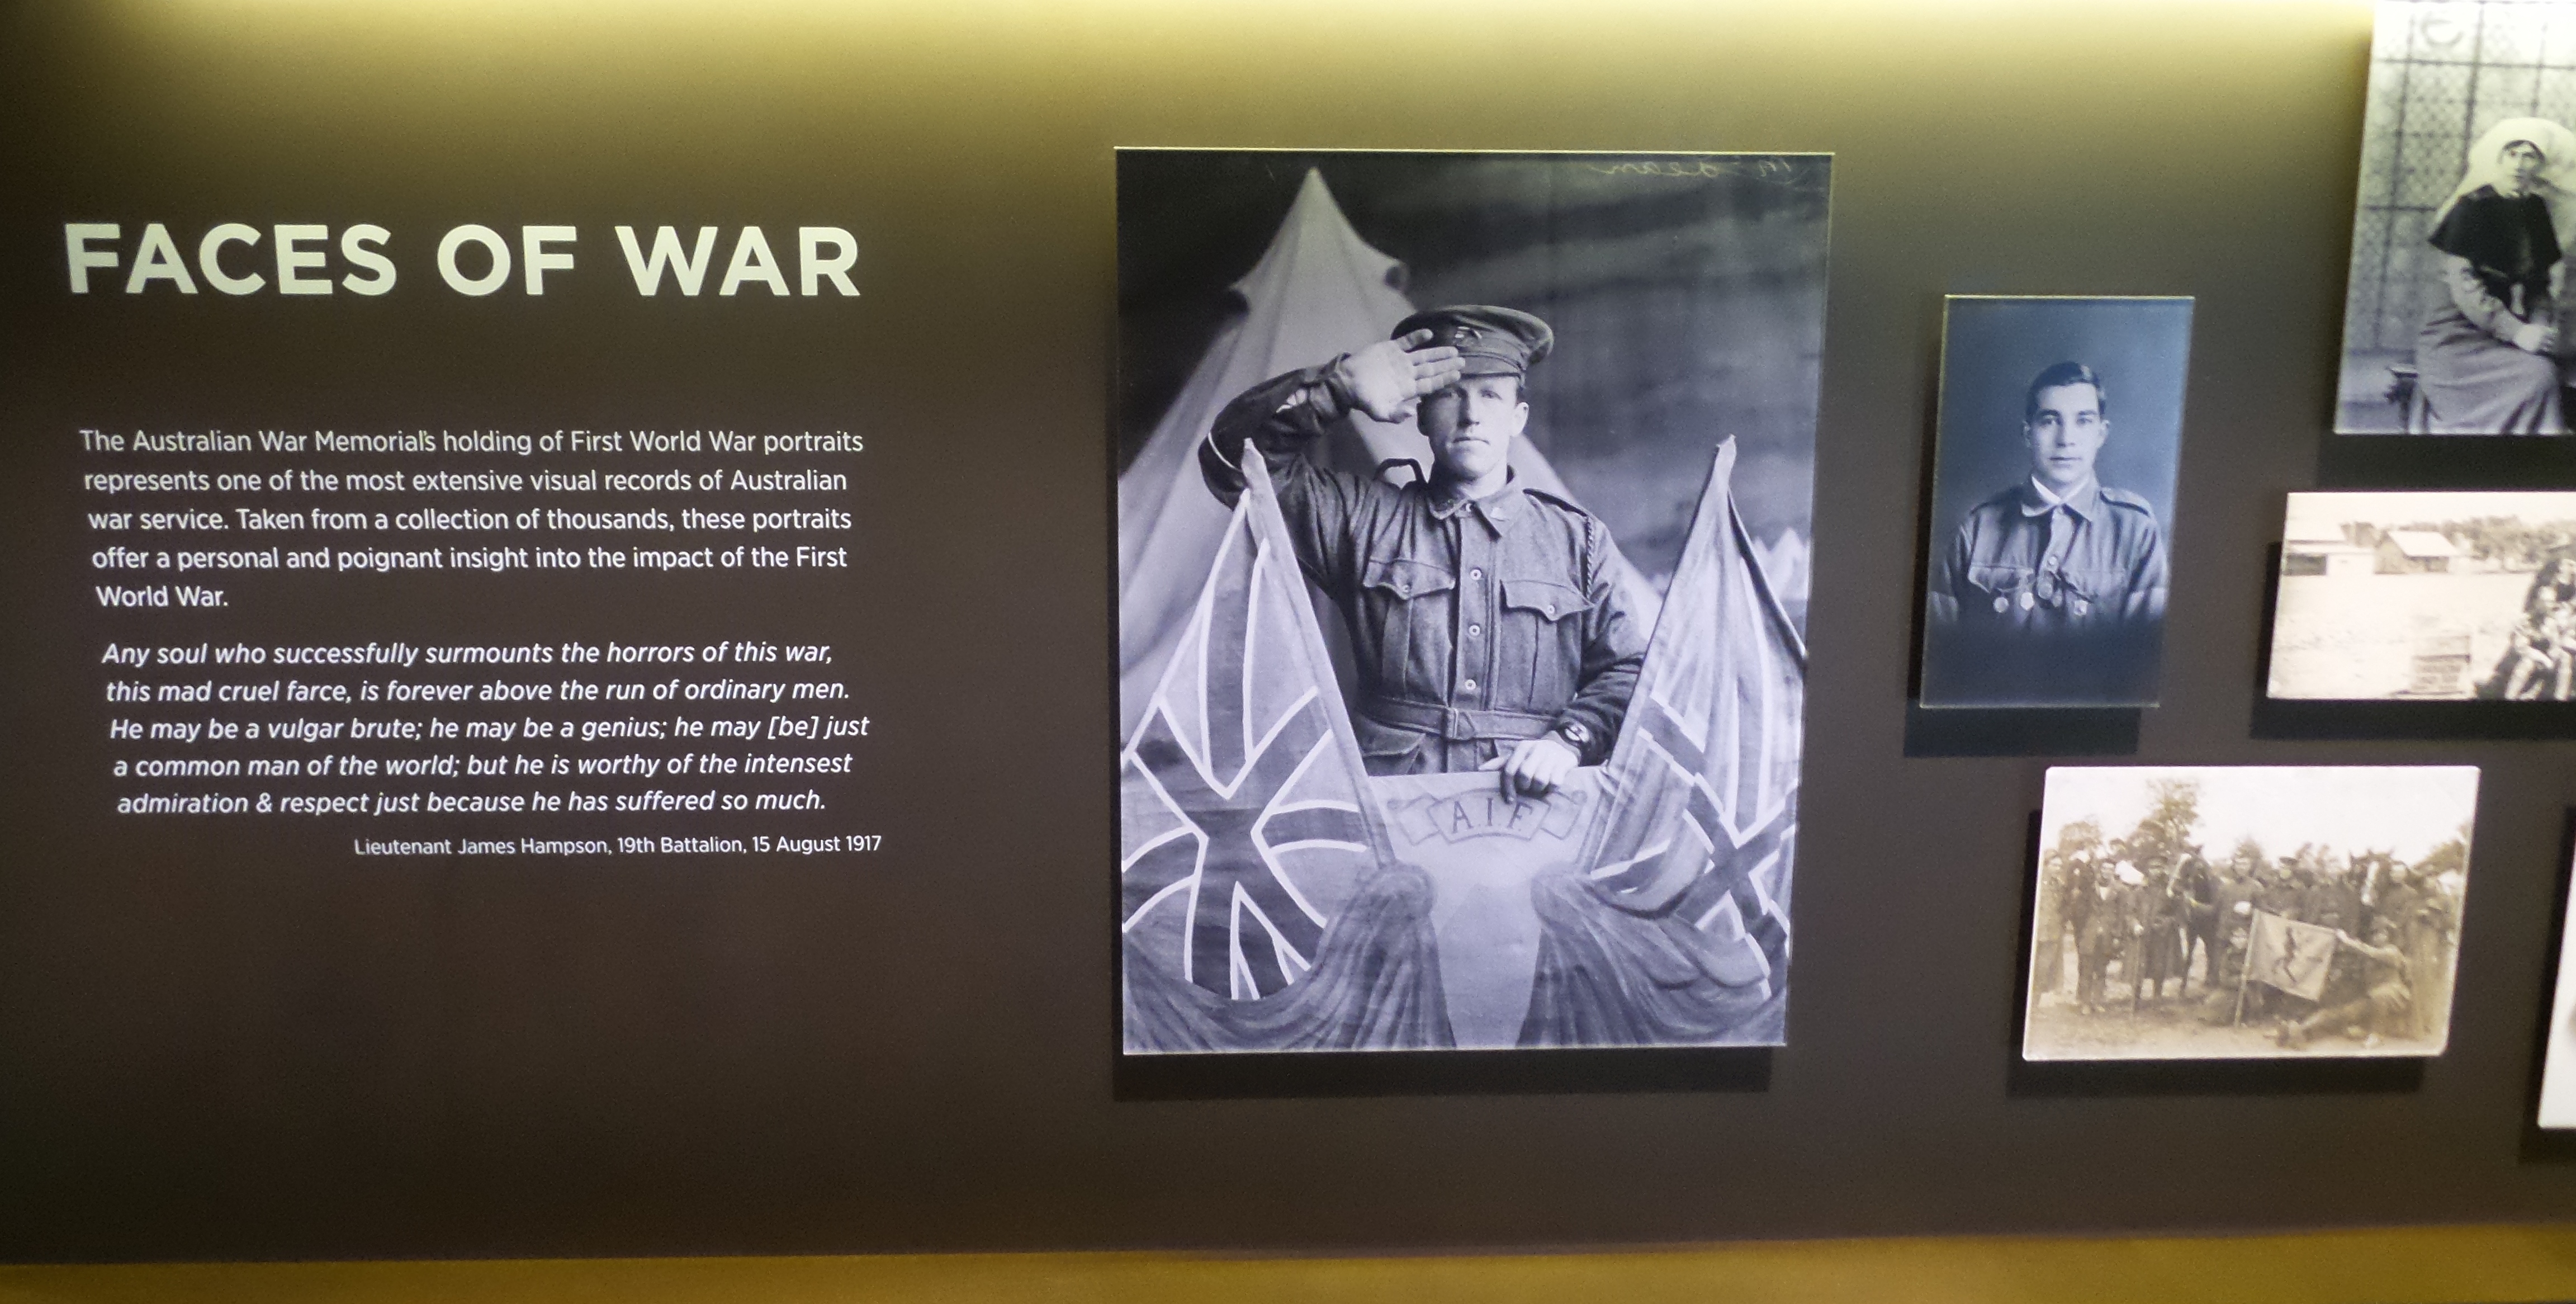
This must -see exhibition at the Australian War Memorial presents the story of Australia in the First World War chronologically, covering all major theatres of operations: Gallipoli; the Western Front; Sinai and Palestine; and the war at sea. The events taking place on the home front and the immediate and enduring legacy of the war are also included.

The Memorial holds one of the world’s great collections of material related to the First World War. The First World War Galleries integrate a wide variety of items from this collection, including dioramas and other works of art; uniforms; medals; technology such as artillery and firearms; photographs; film; and personal items such as letters and diaries.

Since the opening of the Memorial in 1941 the First World War Galleries have undergone several major alterations and many smaller updates. The new state-of-the-art galleries now occupy the entire west wing of the Memorial’s ground level.

The story of the First World War has been returned to a chronological presentation commencing in 1914 and concluding with the immediate and enduring legacies of the conflict.

An early recruitment poster
Information is clearly and effectively displayed
Faces of war - the full quote in this image is really worth reading and thinking about. The way the museum has used these
Faces of war – the full quote in this image is really worth reading and thinking about. The way the museum has used these images is extremely effective.
Many photos have been digitised and are used very effectively in the exhibition. They appear both in original form and as part of a touch screen display.
Simply touch the icon of the photo that you want to research and an enlarged version of the image and accompanying information appear on the larger screen. The image can be further enlarged.
Lone Pine- one of the Australian War Memorial's iconic dioramas
Lone Pine- one of the Australian War Memorial’s iconic dioramas

The Dioramas: Counted among the greatest treasures of the Memorial, the First World War dioramas were constructed in the 1920s. The idea for the dioramas came from discussions during the First World War between Charles Bean, one of the Memorial’s founders, and a group of war artists and others. Bean wanted the dioramas to be more than simply battlefield models. He saw them as works of art, a way of helping people in Australia to understand the devastation and danger of battle, and the sacrifice and sufferings of the people to whom the Memorial is dedicated.

The iconic dioramas offer the viewer a frozen moment in time, placing the battle in a geographic setting and against a human scale. They remain as an integral part of the new galleries. Some of the Memorial’s original dioramas no longer exist, having been damaged or removed during earlier building renovations when they were considered to be merely exhibition displays rather than works of art. Today, 13 First World War dioramas are held in the National Collection. Ten of these dioramas are displayed in the new exhibition, including two desert campaign dioramas – Semakh and Desert Patrol – which have not been publically displayed since the 1980s.

To discover fascinating insights into the conservation of these dioramas click here.

On a personal note, I have taken many school groups through the AWM and no matter the interest level,  the dioramas always had a great impact upon the students.

The Galleries

2014-12-05 14.45.40
The entrance to the gallery

The Story of ANZAC Cove

There is nothing for it but to dig yourselves right in and stick it out. Make a personal appeal to your men to make a supreme effort to hold their ground.

Sir Ian Hamilton
General Officer Commanding the Mediterranean Expeditionary Force
26 April 1915

The Lone Pine diorama
The Lone Pine diorama depicts the first diversionary attacks in the advance to Chunuck Bair at dusk on 6 August 1915. The diorama shows men of the 1st Australian Infantry Brigade attacking Turkish trenches. The Australians are wearing white patches to prevent them being fired on by their own men.
An amazing, interactive map of the Dardarnelles
More detail from the interactive map

2014-12-05 15.05.02

Supplying the troops
Supplying the army. The original artefacts are used to great effect.

The Sinai and Palestine Gallery

The entrance to the Middle Easr section of the gallery
The entrance to the Sinai and Palestine section of the gallery
2014-12-05 15.17.55
The Desert Patrol diorama depicts a light horse patrol in the Sinai desert

The Transportation of Supplies 1914–18, Palestine series comprises nine dioramas depicting the transportation of supplies in the desert campaign of Palestine in 1916. Work began on the series in 1926. It was first displayed at the Memorial in the Palestine gallery, where it remains. The next two dioramas are fro the Transportation series.

2014-12-05 15.30.25
After the darkness comes the dawn: This diorama depicts a supply train travelling across the sand dunes toward Beersheba in the light of false dawn.
The long trek ends The diorama depicts a handful of light horsemen preparing a meal in the shadow of a battle-scarred mosque. Their mounts are tethered under a clump of palms in the background.
The long trek ends
The diorama depicts a handful of light horsemen preparing a meal in the shadow of a battle-scarred mosque. Their mounts are tethered under a clump of palms in the background.

The Western Front

1917 was a dreadful year for our forces - well illustrated in this new gallery
1917 was a dreadful year for our forces – well illustrated in this new gallery
The Bullecourt diorama
Bullecourt, 1917 depicts the 46th Battalion, lead by Major Percy Black, fighting the first line of German trenches at Bullecourt on 11 April 1917.
This statue in the Western Front section of the gallery is particularly evocative.
2014-12-05 15.16.22
Somme Winter, 1916–17 depicts a trench located west of Gueudecourt. It shows the grim conditions Australians fought and lived in. The small funk hole, roofed by duckboard and covered with a waterproof sheet, is where the men mostly slept during winter.
2014-12-05 15.16.46
The Somme Winter 1916-1917 diorama was previously referred to as Gueudecourt and Life in the trenches at Guedecourt, Somme 1916–17.
2014-12-05 15.17.55
The Desert Patrol diorama depicts a light horse patrol in the Sinai desert
2014-12-05 15.20.54
The Battle of Dernancourt (France, April 1918) diorama
The Battle of Hamel (July1918) was a real turning point in the war.
The Battle of Hamel ( France, July 1918) was a real turning point in the war.
The Mont St Quentin diorama depicts a scene during the 6th Brigade's attack on Mont St Quentin on 1 September 1918. Work began on Mont St Quentin, 1918 in 1920. It was the first diorama completed for the Memorial and previously referred to as Storming of Mont St Quentin
The Mont St Quentin diorama depicts a scene during the 6th Brigade’s attack on Mont St Quentin on 1 September 1918. Work began on Mont St Quentin, 1918 in 1920. It was the first diorama completed for the Memorial and previously referred to as Storming of Mont St Quentin
2014-12-05 15.26.19
The Mont St Quentin Cross : On 3 September 1918, 11 men of the 21st Battalion killed in the storming of Mont St Quentin were buried by their comrades in a shell crater, and a memorial cross was erected over the grave.
Semakh depicts the events of 25 September 1918 when the 11th Light Horse Regiment attacked the village of Semakh, in Palestine.  Its inclusion in the galleries is of particular importance as recent research into indigenous service has revealed that the 11th Light Horse Regiment had the largest known group of indigenous Australians in one AIF unit
Semakh depicts the events of 25 September 1918 when the 11th Light Horse Regiment attacked the village of Semakh, in Palestine. Its inclusion in the galleries is of particular importance as recent research into indigenous service has revealed that the 11th Light Horse Regiment had the largest known group of indigenous Australians in one AIF unit

Legacies of War

We came back to a changed world. The world was now going through the upheaval from war to peace, from insanity to sanity – a greater upheaval than from peace to war.

Captain Garnet Adcock
2nd Tunnelling Company

2014-12-05 15.35.31


4 responses to “The Australian War Memorial’s New World War 1 Gallery”

  1. cassandrajordan Avatar

    Thank you Fantastic

    Kind regards Cassandra

    1. mdhsociety Avatar

      I am sure that you will enjoy the exhibition, Cassandra.

  2. GeniAus Avatar

    Thanks for the virtual tour. Will definitely visit when next in Canberra.

    1. mdhsociety Avatar

      Many thanks! The virtual tour was not easy to do. I took so many photos of the exhibition and the display techniques that it was difficult to cull them. Sort of like culling photos from a holiday! Seriously the AWM have done a fantastic job!

Leave a Reply